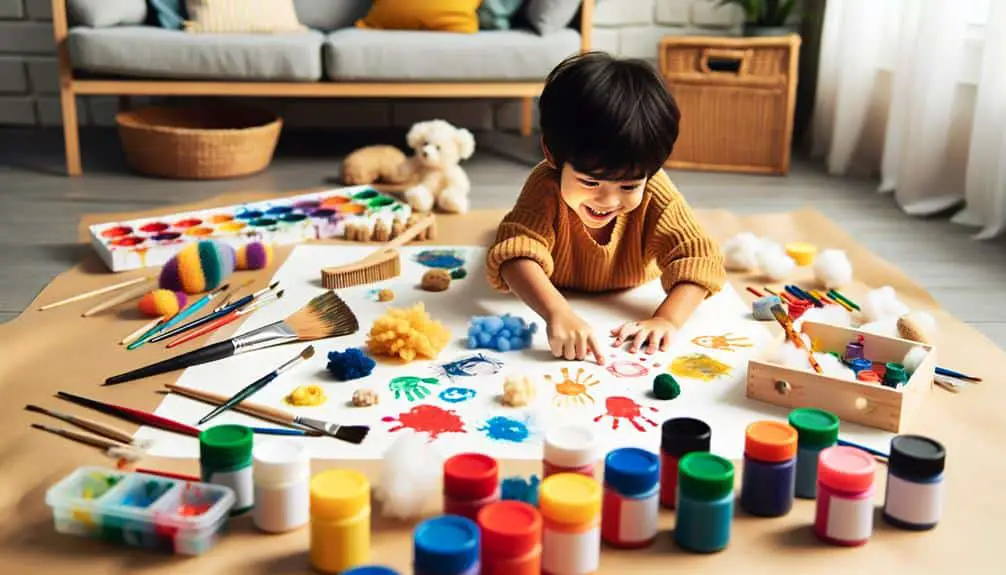
Get those little hands busy with nature-inspired collages using leaves and flowers, bubble wrap painting for sensory fun, and easy shape stamp art! Engage in mess-free painting techniques like watercolor resist and splatter painting. Organize an artistic cleanup using recycled containers and make rainbow paper crafts. Then, mold masterpieces with clay and transform recycled materials into sculptures. Spark creativity at home with these engaging and educational art projects that will keep your preschooler smiling and learning. Ready to awaken their inner artist?
Key Points
- Nature-inspired collage with leaves and flowers for creative exploration.
- Bubble wrap painting for sensory play and unique textures.
- Shape stamp art using everyday materials for colorful designs.
- Mess-free painting techniques like watercolor resist and splatter painting.
- Rainbow paper craft with construction paper to enhance fine motor skills.
Nature-inspired Collage
Create a beautiful nature-inspired collage with your preschooler using leaves, flowers, and other found treasures from outdoor adventures. Start by going on nature walks to collect different textures and colors. Engage in outdoor exploration, encouraging your little one to touch, smell, and observe the natural elements.
Once you have gathered your materials, lay them out on a table along with some paper and glue. Begin by making leaf rubbings using crayons or colored pencils. Show your child how to place a leaf under the paper and rub gently to reveal its intricate details. This activity not only enhances sensory activities but also encourages fine motor skills development.
Next, let your preschooler arrange the leaves, flowers, and other treasures on the paper to create a unique collage. Encourage creativity and experimentation as they decide where to place each item. Once satisfied with the arrangement, glue everything down and let it dry.
Display the finished masterpiece proudly, showcasing your child's artistic talents and the beauty of nature they've captured.
Bubble Wrap Painting
Engage your preschooler's creativity through an exciting art activity known as Bubble Wrap Painting. This activity combines the fun of bubble wrap sensory play with creative exploration.
Bubble wrap texture exploration isn't only entertaining but also a great way for your little one to experiment with different patterns and colors. To get started, gather some bubble wrap, paint in various vibrant colors, and a large sheet of paper.
Simply dip the bubble wrap in the paint and encourage your child to press it onto the paper. As they press down, the bubble wrap will leave behind unique patterns and textures, creating a one-of-a-kind masterpiece. Your preschooler will love the sensation of the paint-covered bubble wrap squishing beneath their fingers and the excitement of revealing the painted design.
This activity isn't only a fantastic way to foster creativity but also helps in developing fine motor skills and hand-eye coordination. So, immerse yourself in the world of Bubble Wrap Painting and watch your preschooler's imagination soar!
Shape Stamp Art
Get ready for some creative fun with Shape Stamp Art!
You'll learn how to make easy shape stamps using everyday materials.
Follow the step-by-step instructions to create colorful masterpieces with your little artist!
Easy Shape Stamps
Explore the world of shapes with your preschooler through the fun and creative activity of Easy Shape Stamps! With this engaging art project, your little one can let loose their imagination to create colorful patterns and creative designs.
Using simple materials like cardboard, scissors, and paint, you and your child can easily make shape stamps in various forms such as circles, squares, triangles, and hearts.
Let your preschooler dip the stamps into different colored paints and then press them onto paper to see the magic unfold. Encourage them to experiment with overlapping shapes, alternating colors, and patterns to make each artwork unique.
As your child explores this hands-on activity, they'll not only enhance their fine motor skills but also learn about shapes, colors, and textures. Celebrate their creativity and display their masterpieces proudly.
Easy Shape Stamps provide a delightful way for your preschooler to express themselves while having a blast creating beautiful art!
Materials Needed
To create your own Easy Shape Stamps for this art project, gather simple materials like cardboard, scissors, and paint. Using these items, you can easily make unique stamps that will add a fun twist to your preschooler's artwork.
In addition to these basic supplies, consider exploring paintbrush alternatives such as cotton swabs or even fingers for a different sensory experience.
Craft storage solutions are also essential for keeping all your art materials organized and easily accessible. Consider using clear containers or labeled bins to store paints, brushes, and other supplies neatly. This not only helps in maintaining a tidy workspace but also teaches young children about responsibility and organization.
Once you have your materials ready, take the opportunity to engage in outdoor art activities with your preschooler. Outdoor settings provide sensory play opportunities that can enhance your child's creativity and exploration. Encourage them to experiment with different textures and colors found in nature to create truly unique masterpieces.
Step-by-Step Instructions
Now let's jump into creating your own shape stamp art project with easy-to-follow step-by-step instructions.
First, gather your materials: various shapes cut out of sponges, paint in different colors, a paper plate or palette for color mixing, and a large sheet of paper.
- Begin by dipping a sponge shape into the paint of your choice. Make sure the shape is fully coated but not dripping.
- Next, press the painted shape onto the paper firmly to create the stamp. Experiment with different pressures to explore texture.
- Continue this process with different shapes and colors, overlapping them to create unique patterns.
- Allow the artwork to dry completely before displaying your masterpiece.
This activity not only encourages color mixing and texture exploration but also provides sensory play and a platform for creative expression. Your preschooler will delight in the hands-on experience of stamping shapes and discovering the vibrant results of their artwork.
Enjoy the process together and celebrate the joy of creating!
Mess-Free Finger Painting
Ready to let your little artist explore with finger painting without the mess?
Discover clever no-mess painting techniques and handy clean-up tips that will make this sensory experience a breeze for both of you.
Get ready to create colorful masterpieces together, hassle-free!
No-Mess Painting Techniques
Get your little artist ready to explore the world of painting without the mess using creative and fun techniques like mess-free finger painting! For a no-mess alternative to traditional finger painting, try watercolor resist art. This technique involves using a white crayon to draw on white paper before painting over it with watercolors. The crayon acts as a barrier, creating beautiful designs where the paint resists the wax. It's a great way to introduce your preschooler to different textures and sensory play.
Another exciting no-mess painting technique is splatter painting. Simply dilute some paint with water, pour it into a spray bottle, and let your child spray it onto paper for a fun and unique masterpiece. Splatter painting is a fantastic way to encourage creativity and experimentation without the worry of a messy cleanup.
Marble rolling is another mess-free painting method that your little one will adore. Place paper, paint, and a few marbles in a box, and let your child roll the marbles around to create beautiful patterns. It's a simple yet engaging activity that promotes fine motor skills and artistic expression.
Clean-Up Tips
Explore these hassle-free clean-up tips for mess-free finger painting with your little artist. To minimize mess and make the art experience enjoyable, consider using organizational strategies and time-saving techniques. Before starting, lay down newspaper or a plastic tablecloth to catch any spills. Dress your child in old clothes or provide them with a smock to protect their clothing.
For a quick and easy cleanup, keep wet wipes or a damp cloth nearby to swiftly clean up any stray paint on hands or surfaces. Consider using storage solutions like sealable plastic bags to store leftover paint for future use. This not only saves time but also prevents wastage.
To add a creative touch to your cleanup routine, repurpose old containers like egg cartons or muffin trays to hold different paint colors. This not only helps with organization but also adds a fun element to the painting process for your preschooler.
Implementing these storage solutions and creative cleanup ideas won't only make your finger painting sessions mess-free but also enhance the overall artistic experience for your little one.
Rainbow Paper Craft
Embark on a vibrant rainbow paper craft with your preschooler to explore colors and creativity together. Let's immerse ourselves in this colorful adventure and make something truly special!
Here's how you can create your very own rainbow paper craft:
- Gather Your Materials: Collect colorful construction paper, child-safe scissors, glue, and cotton balls.
- Cut Out Strips: Help your little one cut out strips of paper in various rainbow colors like red, orange, yellow, green, blue, and purple.
- Arrange the Rainbow: Assist your child in arranging the strips in an arch shape to form a rainbow on a separate sheet of paper.
- Add Clouds: Glue cotton balls at each end of the rainbow to create fluffy clouds at both ends.
Observing your DIY rainbows come to life will surely bring joy to your crafty kids. This simple yet delightful project won't only enhance their fine motor skills but also introduce them to the beauty of colors and art.
Enjoy this creative bonding time with your little artist!
Clay Creations
Let's immerse ourselves in the world of clay creations and shape your preschooler's imagination into tangible art pieces! Creative clay sculpting is a fantastic way to explore different sculpture techniques with your little one. Encourage them to mold their own Playdough animals or explore the world of pottery fun.
With clay, the possibilities are endless. Your child can roll, pinch, and shape the clay to create unique sculptures using their hands or simple tools like plastic utensils. This hands-on activity not only enhances their fine motor skills but also allows them to express their creativity freely.
To start, provide your preschooler with different colored clay and let them experiment with mixing colors to create new shades. Guide them through forming basic shapes like balls, snakes, or coils, which can later be assembled into more complex structures.
Whether they sculpt a mini zoo of Playdough animals or try their hand at pottery, clay creations are sure to captivate their imagination and keep them engaged in a fun and messy art project.
Recycled Material Sculptures
Inspire your preschooler's creativity by encouraging them to transform everyday materials into unique sculptures with recycled items found around your home.
Here are some fun ideas to get you started:
- Cardboard Creations:
Gather old cardboard boxes and let your little one's imagination run wild. They can create castles, cars, or even robots using different shapes and sizes of cardboard pieces.
- Paper Plate Animals:
Take plain paper plates and help your preschooler turn them into their favorite animals. Add some paint, googly eyes, and maybe even some yarn for a fuzzy touch.
- Tin Can Art:
Wash out empty tin cans and have your child decorate them with paint, markers, or even colored tape. These cans can become pencil holders, plant pots, or even mini robots.
- Egg Carton Sculptures:
Save empty egg cartons and let your little artist transform them into caterpillars, flowers, or anything else they can dream up. Add some paint, pipe cleaners, and googly eyes for extra flair.
These recycled material sculptures won't only entertain your preschooler but also teach them the importance of reusing and repurposing items around the house.
Frequently Asked Questions
Can These Art Projects Be Adapted for Older Children?
Yes, these art projects can definitely be adapted for older children. By incorporating more complex art techniques and adjusting the difficulty level, you can make the projects more age-appropriate and engaging for older kids.
How Can I Store and Preserve My Child's Artwork?
You've created masterpieces worth cherishing. For artwork preservation, consider using acid-free folders, portfolios, or digital scans. Display proudly on walls, rotate favorites, or create a dedicated gallery space. Celebrate their creativity for years to come.
Are These Projects Safe for Children With Allergies?
When creating art projects for preschoolers with allergies, make sure to opt for allergy-friendly alternatives like non-toxic, scent-free options. Use sensory-friendly materials such as foam stickers or cotton balls. Maintain close supervision and have an emergency plan in place for any reactions.
Can These Projects Be Done Outdoors?
Taking art projects outdoors not only sparks creativity but also offers a myriad of benefits like fresh air, inspiration from nature, and ample space for messy play. Weather restrictions? Embrace them for added fun!
How Can I Encourage My Preschooler's Creativity During These Activities?
To encourage your preschooler's creativity during these activities, provide a variety of creative prompts and art supplies. Embrace messy play for a sensory experience that sparks imagination. Let them freely explore colors, textures, and shapes.


